
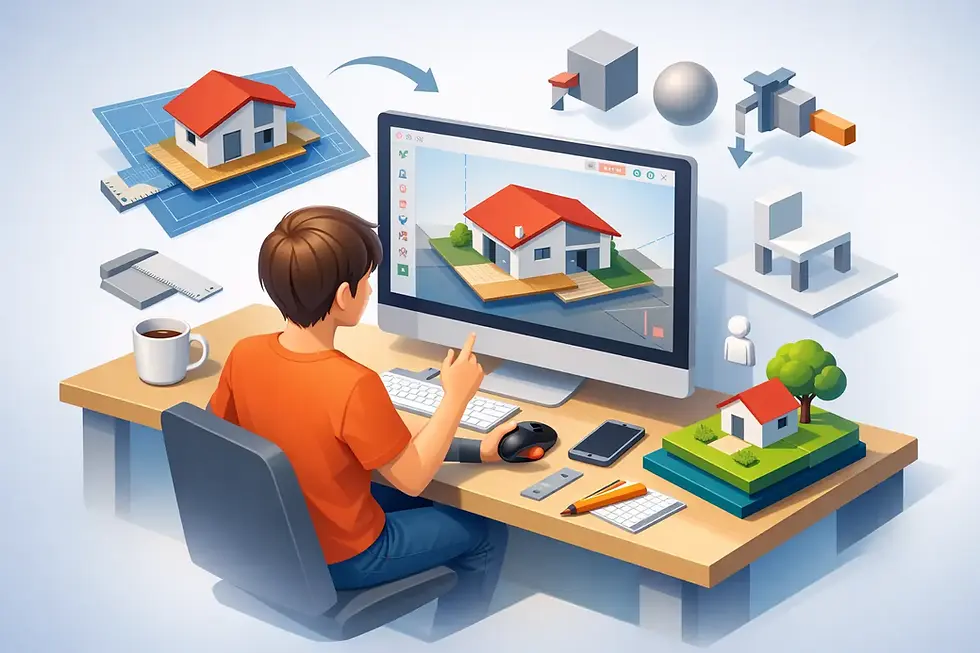
How to 3D model a room correctly
- Joachim von Rost

- May 22
- 6 min read
A room that looks right but is built wrong in the model will be expensive later. It is noticeable when the measurements are not correct, when the interior design does not fit or when the visualization looks credible on the surface but lacks logic in essence. Therefore, how to 3D model a room is not just about drawing walls and placing furniture. It is about building a model that holds up for decisions.
For professionals working in SketchUp, the goal is rarely just to "get something up in 3D". The model should be usable in quotation work, interior proposals, customer presentations, production data or coordination with other disciplines. This places completely different demands on structure, precision and pace.
How to 3D model a room with the right workflow
The most effective way to work always starts with delineation. First, decide what the model will be used for. Should it show the feel and space at an early stage, or should it serve as a basis for precise placements, special joinery and material decisions? That difference determines the level of detail, tolerances and how much time you should spend on each step.
Many models become unnecessarily heavy because everything is built with the same level of ambition. A ceiling that is only supposed to provide room volume does not need to be modeled as a complete building system. At the same time, a kitchen or a reception desk may require higher accuracy because it affects both function and presentation. A good room template is therefore not just pretty. It is consistently built according to purpose.
In SketchUp, it's wise to start with the fixed geometry of the room. Floor space, walls, ceiling, and openings come first. Then you add fixed installations and finally loose furnishings. If you jump straight to furniture and decoration, you quickly lose control of proportions and coordination.
Start with correct measurements and clear references
The first professional step is to secure the base. Do you have a DWG, a hand sketch with dimensions, a laser scan or site survey? The quality of the model will never be better than the source data. If the base is uncertain, you need to mark it early, otherwise the model risks being perceived as more accurate than it actually is.
Once you set up the room in SketchUp, you should work in real dimensions from the start. Don't draw by feel and scale up later. This creates errors in both geometry and components. Add a clear zero point, check wall thicknesses, and ensure all critical dimensions are correct before moving forward.
This is also the right time to think about layer structure, tags and naming. Many people wait too long with this and end up with a model that is difficult to edit. If you know that the project will be shared with colleagues, visualized or updated in several steps, a simple but well-thought-out structure saves a lot of time.
Build the room as buildable volumes
Walls should be modeled as coherent and understandable objects, not as a collection of loose surfaces. In practice, this means creating clear volumes with defined thicknesses and consistent heights. Door and window openings are then cut in based on actual dimensions.
This sounds obvious, but many problems in later stages are caused by walls being drawn with too many small breaks or geometry being pasted directly into the same context. The result is that a simple change spreads errors to other parts of the model. Groups and components are therefore not just about order. They are a way to protect the workflow.
If the room contains level differences, niches, sloping ceilings or special solutions, you need to determine what is fundamental to the project. Not everything needs to be fully modeled right away. However, the parts that affect function, sight lines or assembly should be included early.
What often determines whether the model feels professional
Once the basic form is complete, the next level comes - the relationships between the objects. This is where many models either start to feel believable or reveal themselves as hasty. Baseboards, skirting boards, lining, ceiling connections and facing materials make a big difference. Not because every detail always has to be completely modeled, but because the transitions in the room have to feel logical.
A common mistake is to spend a lot of time on furniture and almost none on the room's own details. But in an interior design, it is often the fixed parts of the room that set the quality. If a wall meets the floor without a well-thought-out finish, or if the window depth is wrong, it affects the whole experience.
Furnishing should support decisions, not just fill space
When placing furniture, it should reflect the purpose of the model. If you are working with interior design or work environments, the furniture needs to show use, movement zones and scale. If the focus is on customer presentation, you can put more energy on expression and materiality. In both cases, the objects need to be clean and reasonable in detail.
Overly heavy components are a classic stumbling block in SketchUp. A chair with too many polygons can make an entire project sluggish, especially if the same object appears many times. Therefore, it is better to use smart components and keep high detail where it is actually visible.
This also applies to custom furnishings. If you are modeling on-site solutions for production or customer approval, you should separate the presentation model and the working model when necessary. One and the same file does not need to carry everything.
Materials, lights and cameras - when visualization matters
Understanding how to 3D model a room is also about knowing when geometry is enough and when presentation needs to be stepped up. For an internal layout discussion, simple colors may be enough. For a client or decision-making group , materials, scenes, and camera angles that convey the room clearly are often required.
Materials should be applied with control, not as a final cosmetic layer. The direction of the wood, scale of the tiles, joint pattern and gloss level affect how believable the model is perceived. If the material mapping is sloppy, it does not help that the shape itself is correct.
Light is another issue where it depends on the application. In some projects, shadows are enough to read volume and orientation. In others, rendering or more advanced visualization is needed to assess mood, reflections and contrasts. The point is not to always do more. The point is to do the right amount of work for the right decision.
Common mistakes that cost time later
Most unnecessary rework in a room model comes from three types of mistakes. Either the dimensions are uncertain, the structure is weak, or the level of detail is misprioritized. This leads to models that look finished but have to be rebuilt as the project progresses.
Another recurring problem is that all geometry is in the same context. This causes surfaces to get stuck together, openings to become difficult to change, and the model to become brittle. It is also common for the user to import too much from other sources without cleaning up the file. This makes the model heavy and difficult to manage.
For professional users, the best question is therefore not “how quickly can I get it looking ready?” but “how do I build this so that the next step is easy?” That’s where efficiency really comes into play.
This way you work faster without losing quality
Speed in SketchUp rarely comes from shortcuts at the beginning. It comes from consistency. Use recurring components, create your own templates for typical room situations, and set a standard for naming and tagging. This reduces friction for both yourself and others who will work on the file.
It is also wise to make early decisions about what not to model. Cables inside a wall, invisible structures or small fittings that do not affect function or image often do not need to be included. At the same time, there are projects where these details are crucial. A set designer works differently than a kitchen designer, and an interior designer has different priorities than a production team. Good modeling is therefore always situational.
For teams looking to shorten lead times on critical projects, mentoring is often more cost-effective than trying to standardize everything internally from scratch. This is especially true when the models are to be suitable for both visualization and real-world application. SketchUp Expert works in that borderland - where training, project support, and practical workflow need to work together.
When a room is fully modeled for real
A room is not finished just because it looks complete in a view. It is finished when the model can be used safely for its intended purpose. This could mean that the dimensions are correct, that the customer's questions can be answered immediately, that the visualization holds up to presentation, or that the next person can take over the file without starting over.
It's a more demanding approach to 3D modeling, but also the one that saves the most time over time. If you build with the right structure from the start, every adjustment will be easier, every presentation clearer, and every decision more secure.
A well-modeled room shouldn't just look impressive on screen. It should make working around the room easier.


Comments